How to Unformat a Hard Drive
Formatted the wrong drive? Or realized, too late, that you didn’t grab those important files first? Common mistake. Check any tech forum and you’ll see this happens all the time. The good news is it’s not always a dead end like people assume. In fact, if you act fast, recovery is often doable. Today, we’ll break down when it is possible to unformat an HDD and walk you through the steps to get your files back.
Can You Actually Unformat a Drive?
Let’s set something straight right away: there’s no “undo” button for formatting a drive. Once you hit format, the system doesn’t stash a backup somewhere waiting for you to change your mind. But it also doesn’t mean your data is instantly gone. Even if the drive looks empty in File Explorer, there’s a good chance the actual files are still there, at least for a while.
Types of Formatting and Your Recovery Chances
Now let’s talk about types of formatting and what they mean for your recovery chances.
- Here’s the deal: In most cases, when people format a drive, especially using the
default settings in Windows, it’s a Quick Format. And
if that’s what happened in your case, good news: your data probably isn’t
gone. What Quick Format does is wipe the file system metadata (the stuff that tells
your computer what files are where). But the actual files are still sitting there.
The system now treats that space as “available,” but until something new
gets written over it, recovery is doable.
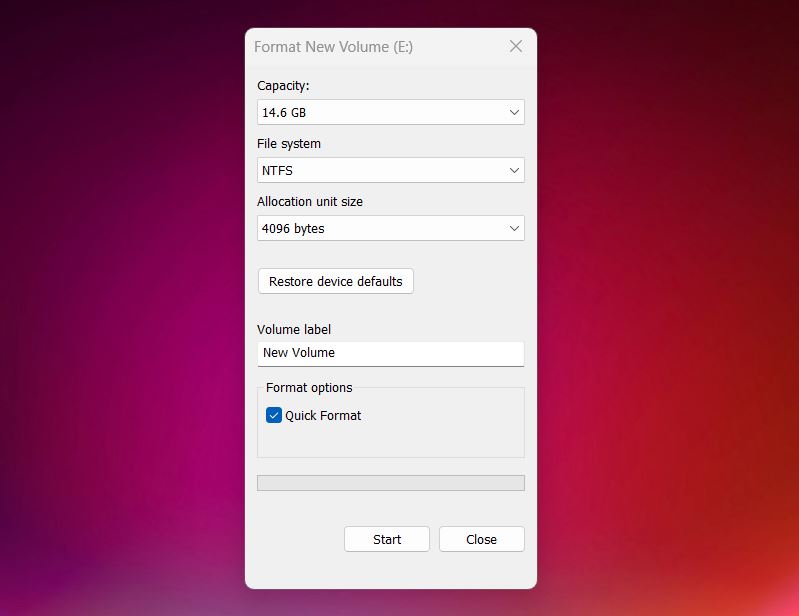
- Now if you ran a Full Format, either intentionally or by unchecking that Quick Format box, that’s a lot rougher. Full Format overwrites the entire drive with zeros and checks for bad sectors. Once that happens, the original data is gone. We’re sad to say, in this case, DIY recovery tools won’t do anything. And even professional data recovery labs won’t be able to help much either, because there’s nothing left to recover. The disk has been scrubbed clean.
- There’s also one more type of formatting worth mentioning, low-level formatting. You probably won’t run into it unless you’re using specialized tools or working at the firmware level. This is the kind of formatting manufacturers use when prepping a brand-new drive. It defines how sectors and tracks are laid out on the disk. But the story here is the same as with full format: once it’s done, your data is gone.
So to recap:
- Quick Format = high chance of recovery (as long as you didn’t use the drive afterward)
- Full Format = no real hope for recovery
- Low-Level Format = same as full format, nothing left to find
How to Unformat a Hard Disk (Step-by-Step)
Next up, we’ll walk through how to actually unformat your disk, step by step, if you’re in that lucky “Quick Format” category.
Step 1: Stop Using the Drive Immediately
Your first step: stop using the drive. Completely.
Don’t browse it. Don’t copy anything onto it, not even recovery software. The moment you format a drive, the system treats that space as free real estate, and anything you do afterward can write over your old files. Every download, update, or file transfer risks wiping out the exact data you’re trying to recover.
But here’s where things get a little nuanced depending on your setup:
- If you formatted an external hard drive, you’re in luck. As long as you’ve disconnected it and haven’t saved anything new, your data’s probably still intact. You can install recovery software on your main system drive and scan the external one safely.
- If you formatted a partition on your internal drive (but it’s not the one running your operating system), you’re still okay. Just make sure to install the recovery tool on a different, unaffected partition. Don’t let anything write to the formatted one.
- Now, if you accidentally formatted your system partition and the computer won’t boot anymore, don’t try to reinstall Windows or boot into Safe Mode. That’ll make things worse. Instead, remove the drive, plug it into another computer (using a USB adapter or enclosure), and run recovery from there.
Bottom line: no matter which type of drive you formatted, your best chance at recovery starts by doing nothing with that drive until you’re ready to scan it properly.
💡 Note. If you're dealing with an SSD, recovery is always more difficult. SSDs use a feature called TRIM that clears deleted files at the system level, often right after deletion. That means by the time you run recovery software, your data may already be wiped out.
But here’s the twist: how the SSD is connected matters.
- If it’s an external SSD connected through a USB Type-A or even a basic Type-C hub, TRIM commands often don’t get passed through. In that case, your files might still be hanging around and recoverable.
- If it’s an internal SSD, though, TRIM is usually active by default, and that often makes recovery a no-go.
Step 2: Choose the right recovery software
Okay, your next step is picking the right tool for the job. For this kind of situation, our go-to recommendation is Disk Drill, which also happens to be our partner product. And for good reason.
Disk Drill is built for exactly this kind of mess. It works on both Windows and Mac, supports all major file systems (NTFS, FAT32, exFAT, and more), and handles internal and external drives alike. So whether you formatted a USB stick, a full HDD, or a partition on your laptop, you’re covered.
It also works great with multi-formatted drives. So let’s say your drive was originally FAT32, then got switched to NTFS, then formatted again to exFAT. Disk Drill can still dig through all that and find files from earlier formats. It sounds weird, but here’s why it matters: if you format a drive to the same file system it already had, more data gets overwritten. But if you switch file systems, the layout changes, and more of your original files stay untouched in different areas of the disk.
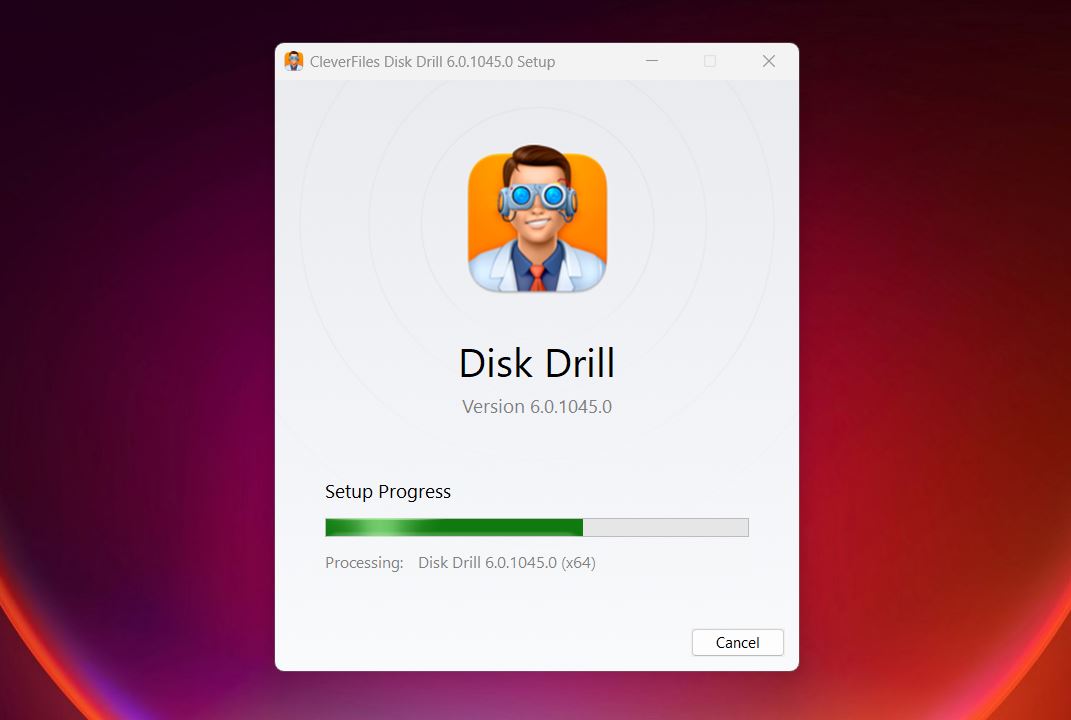
You can download the latest version of Disk Drill directly. Installation takes just a few seconds, nothing complicated, just follow the prompts.
⚠️ Just to remind once more (because it’s important): don’t install it on the same drive you’re trying to recover data from..
Step 3: Scan the Formatted Drive
Once Disk Drill is up and running, go ahead and launch it. You’ll see a list of all the drives connected to your computer. Find the one you accidentally formatted (it should show up by its model name or size) and click on it.
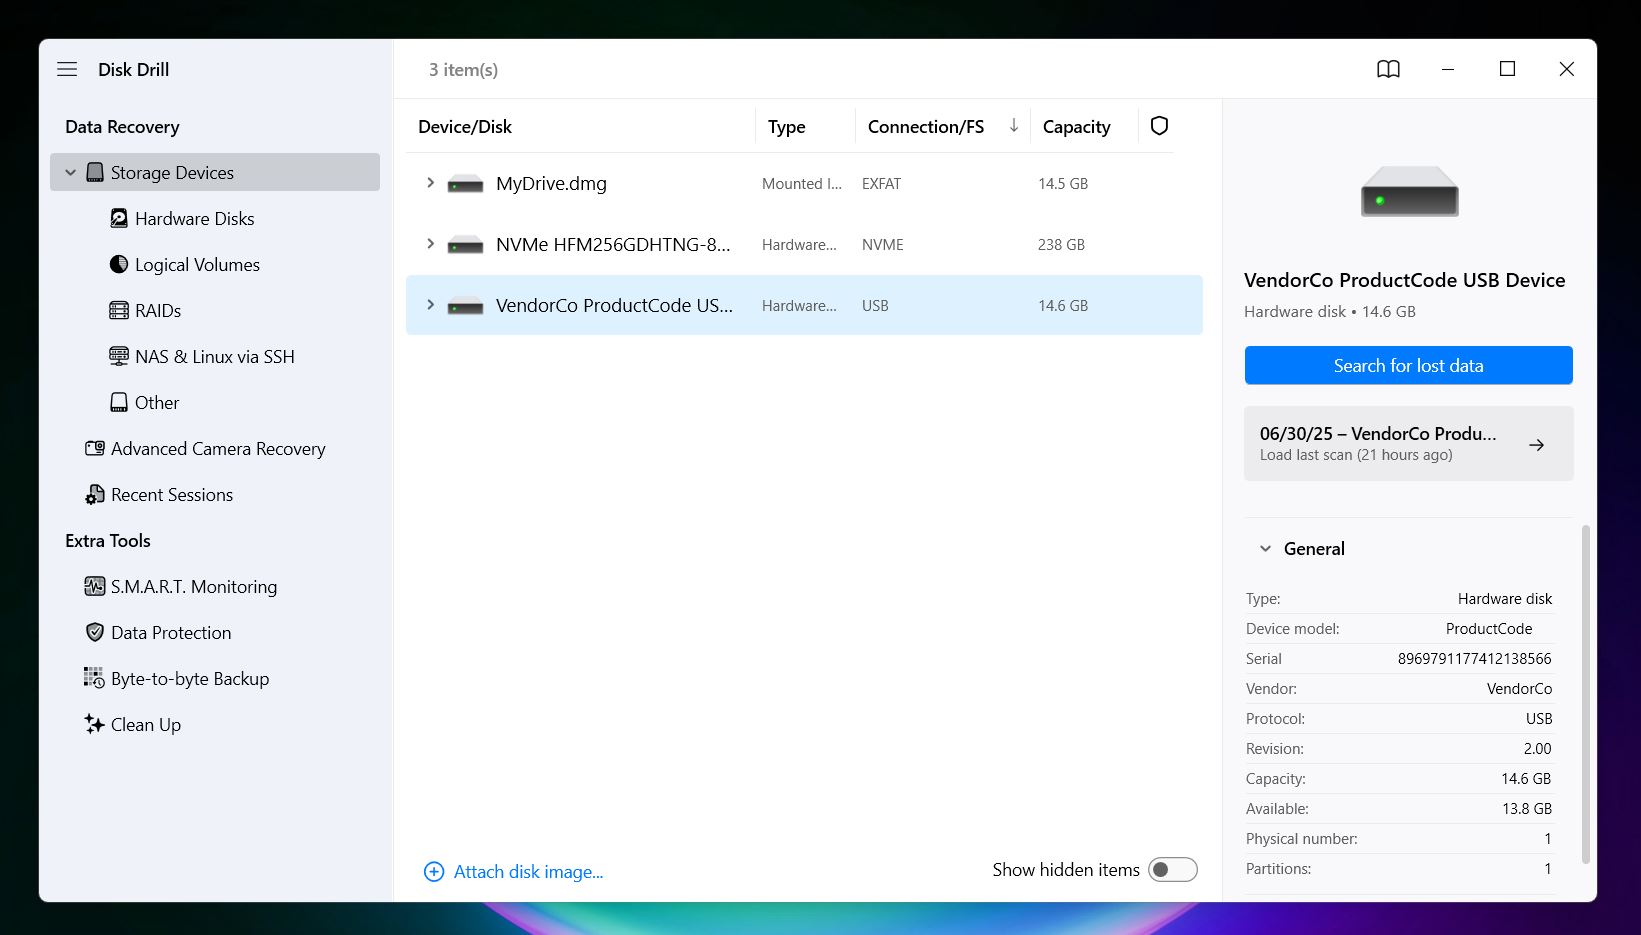
Now hit “Search for lost data”, and if Disk Drill asks which scan method to use, go with Universal Scan. It’s the default for a reason. This mode automatically runs through all available recovery methods: quick scan, deep scan, and file signature scan, so you get the most complete results possible without having to tinker with settings.
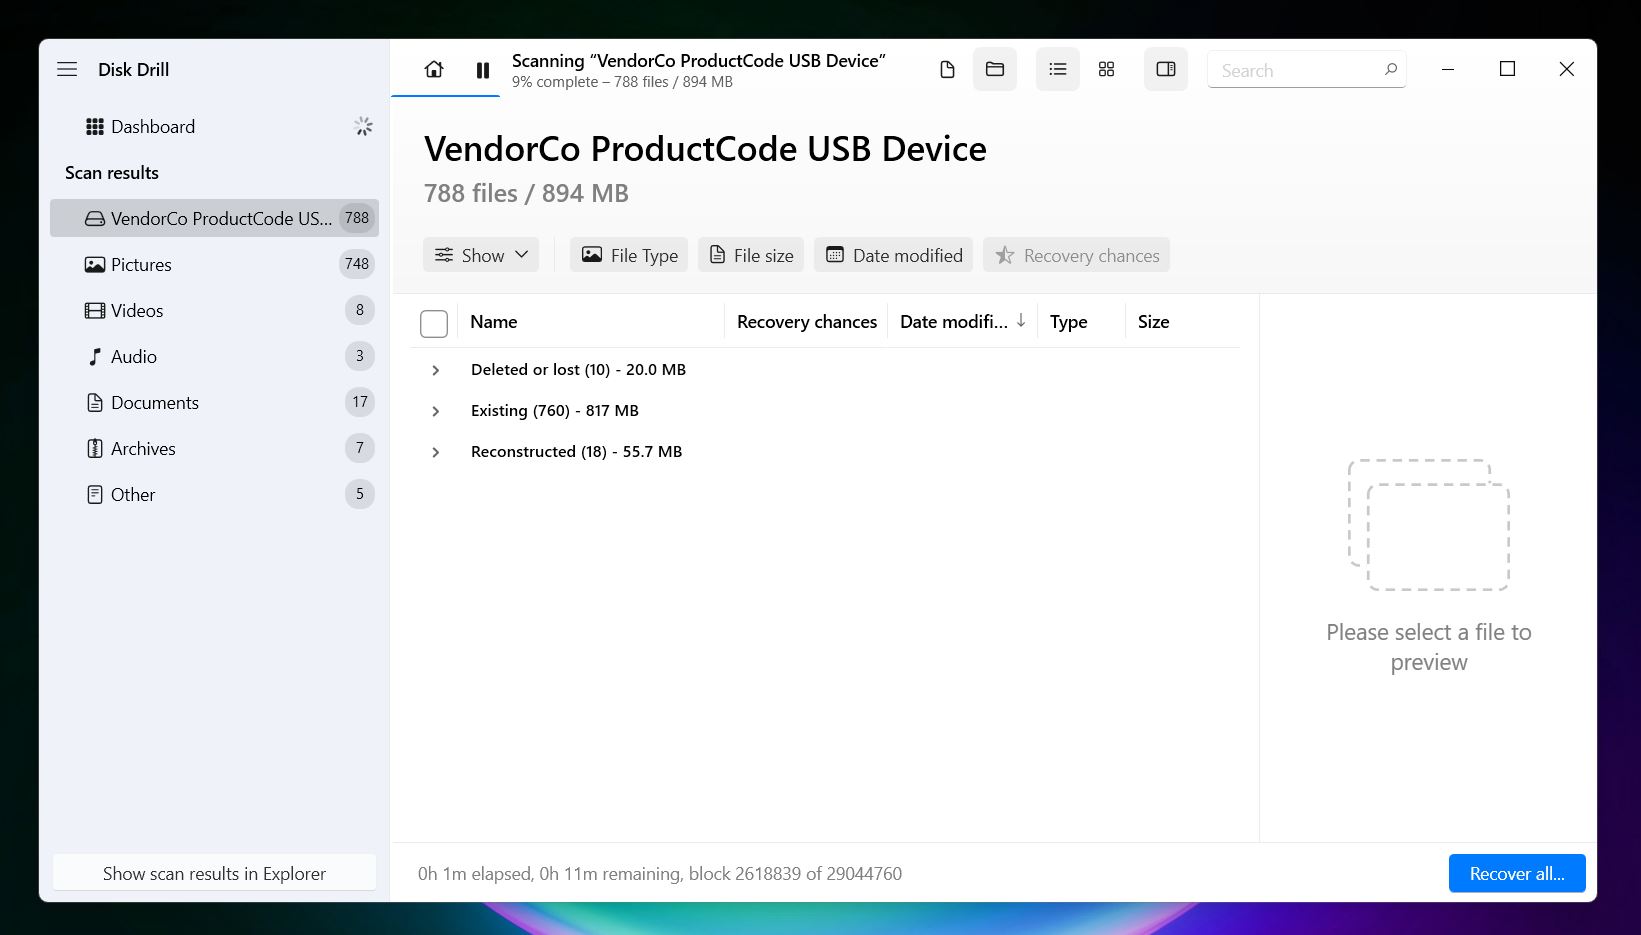
The scan might take a while, but you’ll start seeing results pop up in real time. As it runs, Disk Drill sorts found files into categories like Pictures, Video, Audio, Documents, Archives, and Other Files, so it’s easy to spot what you’re after.
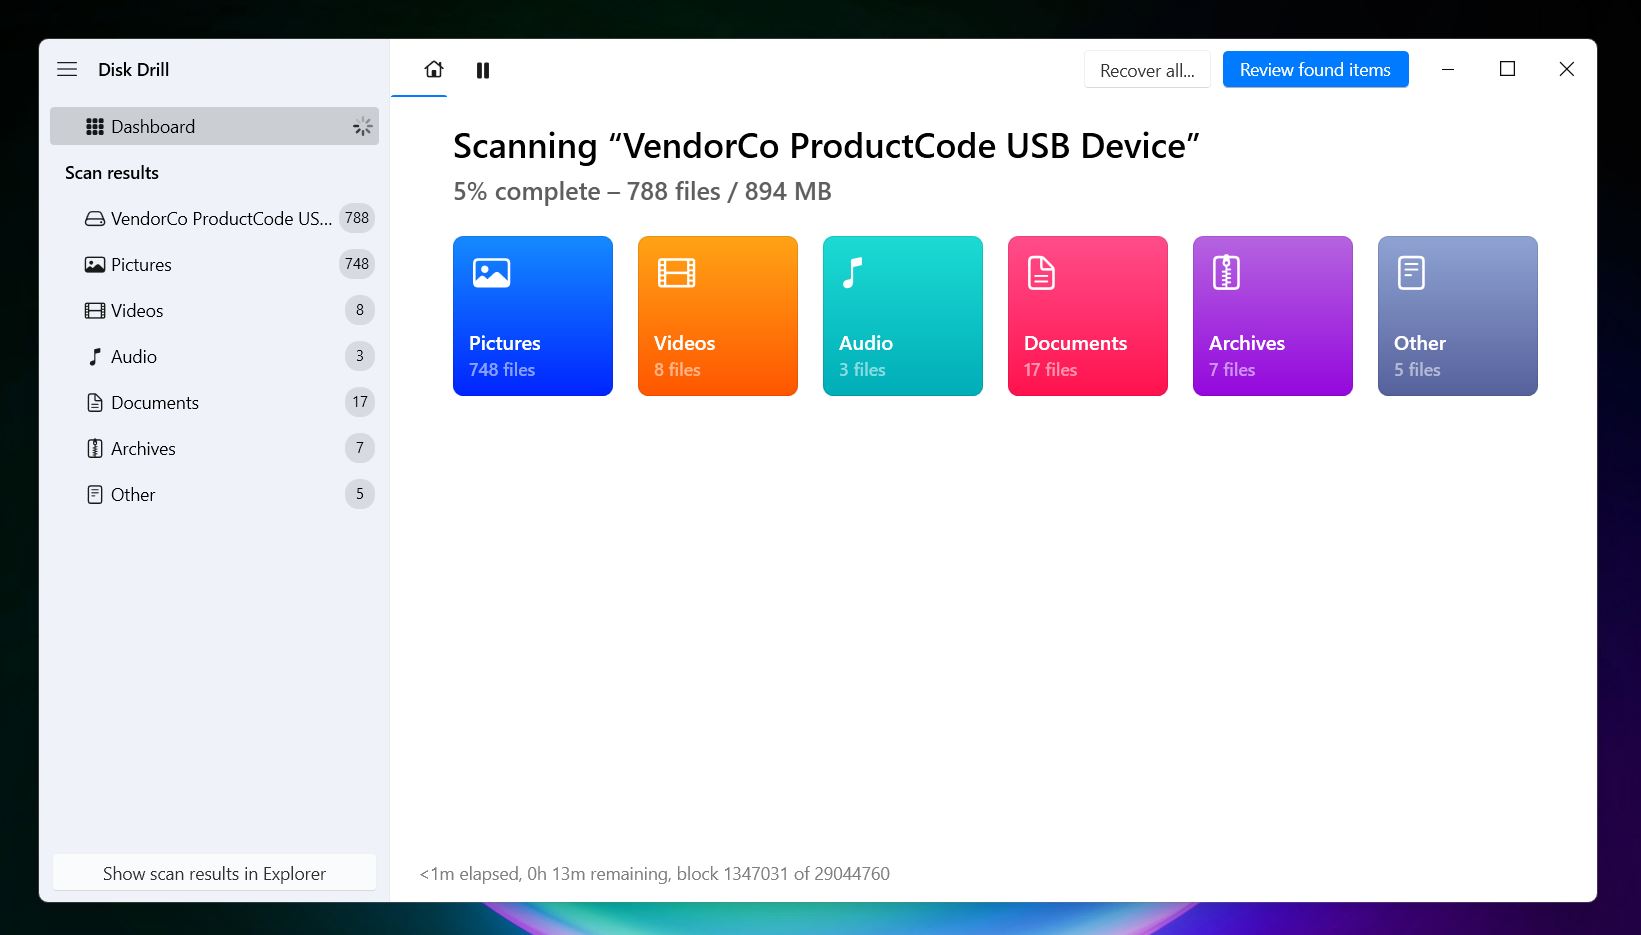
Want to recover everything at once? That works too. Just wait for the scan to complete, click Recover All, and pick a safe location to save your files. (Pro tip: don’t save recovered files back to the same drive you’re scanning.)
Step 4: Preview and Select files to recover
If you want to pick and choose what gets brought back, now’s your chance. You can dig through the found data and recover only what matters to you.
Once you’re inside the results screen, Disk Drill splits everything into three main sections:
- Deleted or Lost – These are the files that were removed or wiped out during the format. They often come with original filenames and folder paths.
- Reconstructed – These were found through Disk Drill’s signature scan. They don’t have original names or structure, but they’re recovered based on content (like .jpg, .docx, .mp4).
- Existing – These are files that are technically still on the drive.
Use the search bar if you’re after something specific, like a file name or extension, or sort by file type to make things easier. Disk Drill’s preview feature is especially useful here. It can open pretty much anything your OS can handle, whether that’s a JPEG, a DOCX, a video file, or even a spreadsheet. If your computer has a way to view it, Disk Drill does too.
And here’s the key thing: if a file opens in preview, it’s 100% recoverable. If it loads, you can get it back.

You’ll also see a Recovery Chances column next to each file, with labels like “High,” “Average,” or “Low.” It gives you a solid idea of which files are more likely to come back in one piece.
Step 5: Recover Your Files Safely
Once you’ve selected the files you want, hit the Recover button. Disk Drill will then ask where to save them; this part really matters. Always choose a different drive or partition than the one you’re recovering from. If you’re scanning an external hard drive, save the recovered files to your internal drive. If it’s an internal partition you’re recovering, plug in a USB stick or another external drive and use that.
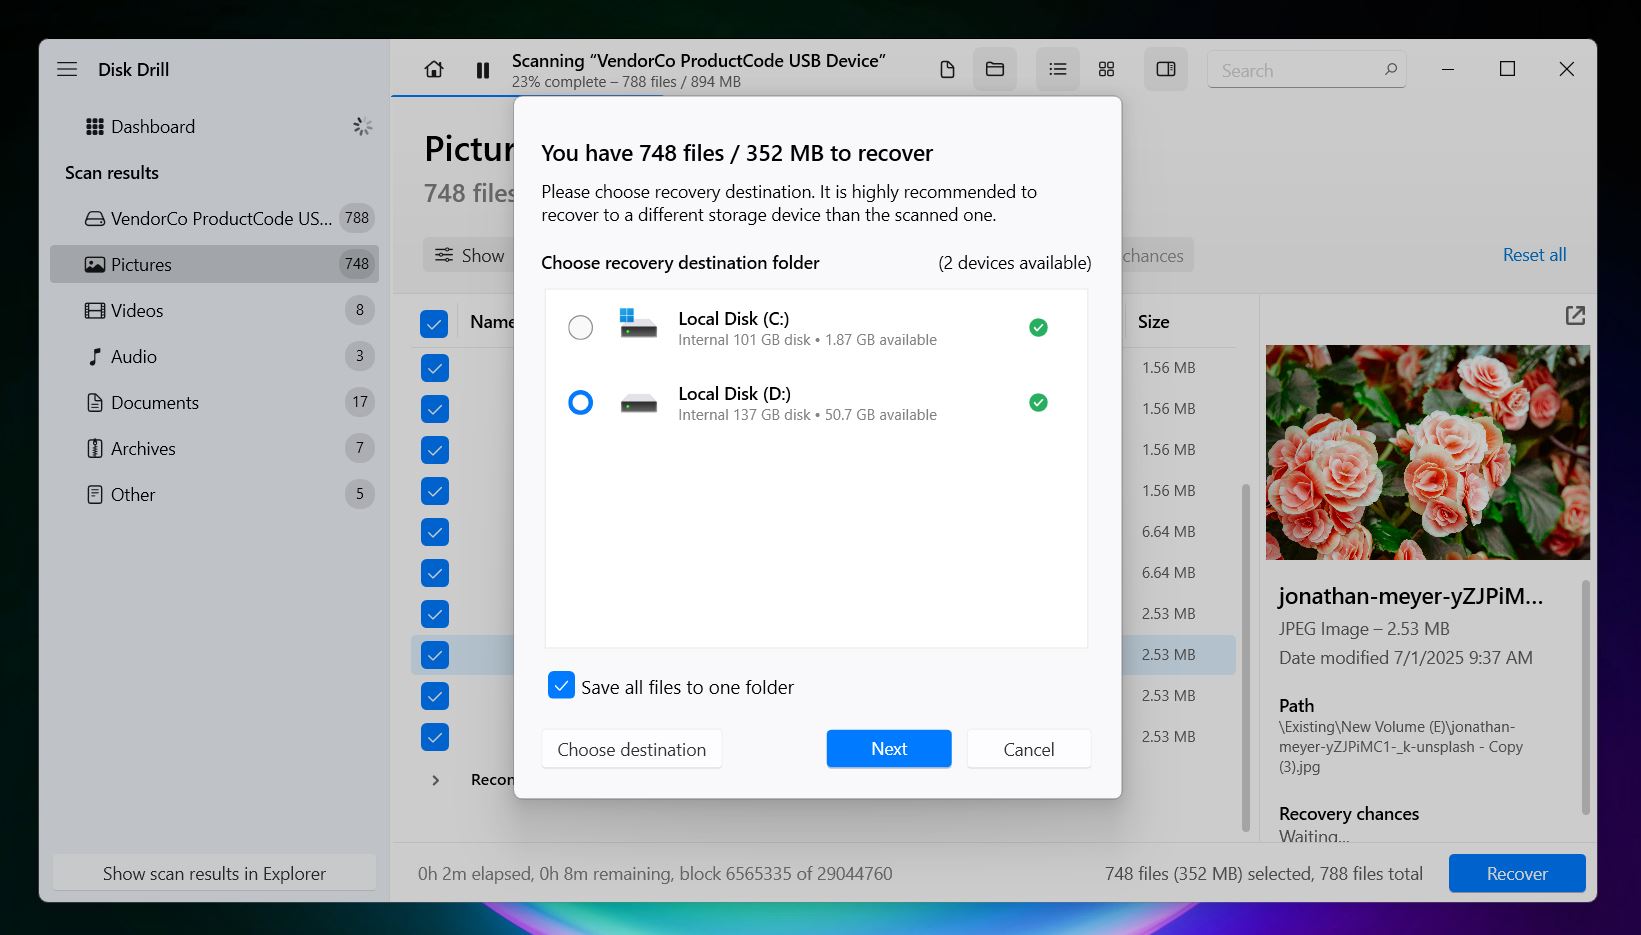
After you choose the destination, click Next and let Disk Drill do its thing. Recovery usually takes a few minutes, depending on how much you selected. When it’s done, Disk Drill will offer to open the folder in File Explorer.
💡 Note. The free Windows version of Disk Drill lets you recover up to 500 MB of data without paying a cent. No time limits. And even if you go over that cap, you can still scan and preview as much as you want, which is huge when you're trying to figure out whether the files you need are actually recoverable. Also, all the extra features are unlocked too. That includes byte-for-byte backups (which come in handy if your drive is acting unstable), S.M.A.R.T. monitoring to keep an eye on your disk’s health, and data protection tools that can help you avoid situations like this in the future.
That’s it. Now, if you want to, you can move those recovered files back onto the formatted drive, and just like that, you’ve officially unformatted your drive (just make sure you’ve got everything you needed first). If you stopped in time and followed the steps, chances are you’ve saved a good chunk of your files.
Can I Unformat an External Hard Drive the Same Way?
Yes, you can unformat an external hard drive exactly the same way. In fact, it’s often easier and safer.
Here’s why: with external drives, the risk of accidentally overwriting files is much lower. Most people don’t install software (especially recovery tools) on external drives, so there’s less chance of making things worse by mistake. You’re also not dealing with system partitions or background processes writing to the drive without you realizing it.
You can plug the drive into your main computer, install Disk Drill (or another recovery tool) on your system drive, and scan the external one without touching its contents.
The steps are identical: select the external drive in the list, run a Universal Scan, preview the files, and recover what you need to a different location. As long as you haven’t saved anything new to that drive after formatting, your chances of recovery are just as good, often better.
How Do I Undo a Format Using CMD?
Let’s clear this up: as we said at the beginning, modern versions of Windows do not include a built-in command to unformat a drive. There used to be one, literally called UNFORMAT, back in the MS-DOS 5.0-6.22 days. It worked by saving critical drive info during a format (like the original FAT table and root directory) and stashing it at the end of the disk. Then, if you ran UNFORMAT before writing anything new, it could restore that structure and make the drive usable again. It was a smart failsafe for the time.
But it’s been extinct for decades. You won’t find it in Windows 7, 10, 11, or even anything after Windows 95. And while some users on Reddit still try to recreate that environment (on old PCs running MS-DOS from a floppy), it’s mostly nostalgia at this point.
So no, CMD can’t undo a format anymore. The only way to unformat a partition using CMD is with data recovery software that happens to work in a command-line environment. Tools like PhotoRec can run inside Terminal or CMD and are great for scanning drives sector-by-sector to recover files based on their signatures. There’s also Windows File Recovery, a Microsoft tool made specifically for Windows 10 and later. It runs entirely from the command line and supports NTFS, exFAT, FAT, and ReFS file systems.
But be warned, it’s not super user-friendly. You’ll need to learn the right syntax, and there’s no preview feature like you get with a graphical tool. Still, these tools are completely free, so you’ve got a real chance to unformat your hard drive for free.
Final Words
In our experience, 99% of the cases where someone accidentally formatted the wrong drive it was a Quick Format. And as you now know, that’s the kind of formatting that still leaves your data sitting there, at least until something overwrites it. So if you acted fast, didn’t install anything new on the drive, and followed the steps we walked through, your chances of recovery are solid.
If you’d rather not tackle it yourself, or you panic at the thought of a mis-click, professional labs exist. They use clean-room hardware and advanced imaging tools, but professionals charge serious money. Weigh the cost against the fact that most DIY software works fine for a quick-formatted drive.
And before you declare total loss, double-check every other place your files might hide:
- Cloud sync folders (OneDrive comes baked into Windows 10 and 11, Google Drive or Dropbox if you installed them).
- External backups or old USB sticks.
- Email attachments, chat uploads, any secondary copy you forgot about.
A quick sweep through those spots sometimes saves the day without any recovery work at all.